What is Win-KeX?
Win-KeX (Windows Kali Desktop Experience) is a tool that allows penetration testers and cybersecurity enthusiasts to run a full graphical Kali Linux desktop on Windows Subsystem for Linux (WSL 2). It provides an efficient way to use Kali Linux tools without the need for dual-booting or using a virtual machine.
With Win-KeX, users get access to a seamless Kali Linux experience inside Windows, making it a powerful option for ethical hacking, penetration testing, and cybersecurity research.
Why Use Win-KeX?
✅ No Need for Dual Booting – Run Kali Linux alongside Windows without rebooting.
✅ Better Performance – Uses WSL 2, offering near-native Linux speeds compared to traditional VMs.
✅ Seamless Integration – Access both Windows and Linux tools from a single interface.
✅ Lightweight – Uses fewer resources than full virtual machines like VMware or VirtualBox.
✅ Officially Supported – Developed by Kali Linux & Offensive Security, ensuring regular updates.
Setting Up Win-KeX on WSL 2
To install and run Win-KeX, follow these steps:
1️⃣ Enable WSL and Install WSL 2
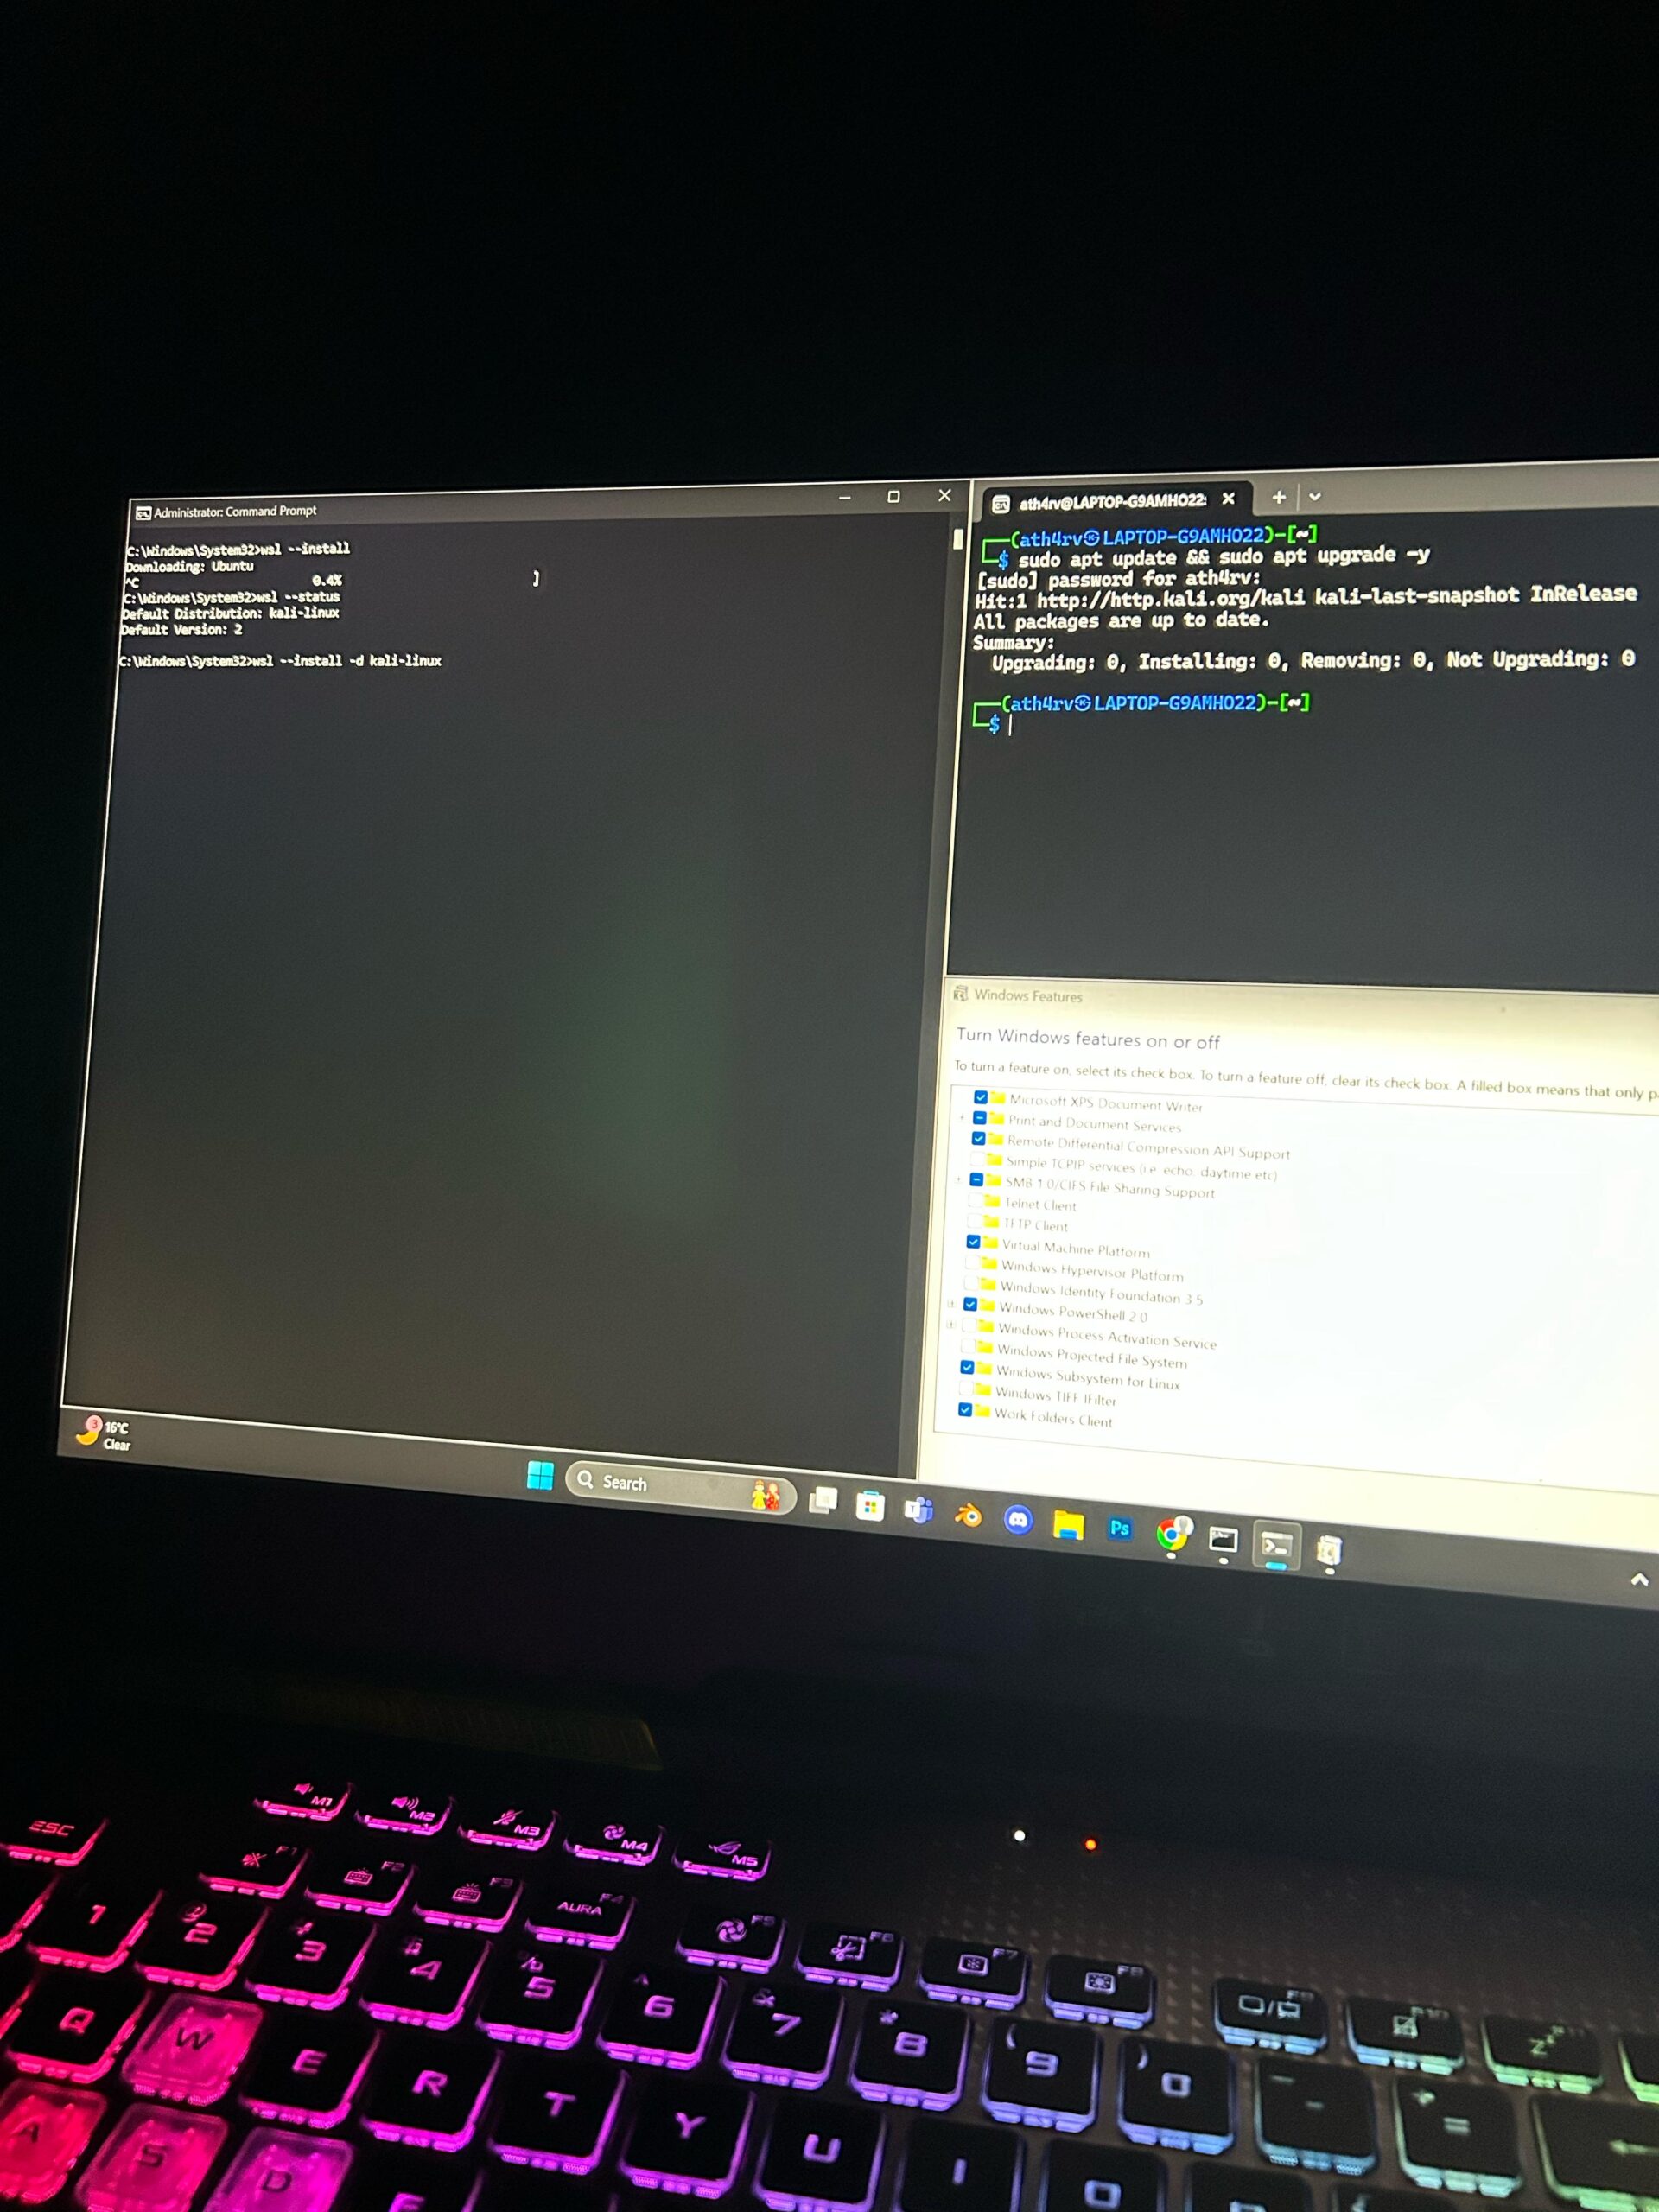
Before proceeding, ensure that Windows Subsystem for Linux (WSL) and Virtual Machine Platform features are enabled. Open PowerShell as Administrator and run:
 dism.exe /online /enable-feature /featurename:Microsoft-Windows-Subsystem-Linux /all /norestart
 dism.exe /online /enable-feature /featurename:VirtualMachinePlatform /all /norestart
After enabling these features, restart your computer.
Open PowerShell as Administrator and run:
wsl --installThis command will install WSL 2 and Ubuntu as the default Linux distribution. However, we need Kali Linux instead.
2️⃣ Install Kali Linux on WSL
Download and install Kali Linux from the Microsoft Store:
wsl --install -d kali-linuxOnce installed, launch Kali from the Start Menu and set up a new user account.
3️⃣ Update Kali Linux
Run the following commands inside Kali’s terminal to ensure all packages are up to date:
sudo apt update && sudo apt upgrade -y4️⃣ Install Win-KeX
Now, install Win-KeX using:
sudo apt install -y kali-win-kex5️⃣ Launch Win-KeX
You can start Win-KeX in different modes:
- Window Mode (Runs Kali Linux in a separate window)
kex --win - Seamless Mode (Runs Kali apps alongside Windows apps)
kex --sl - Enhanced Session Mode (For advanced users)
kex --esm
Using Kali Linux with Win-KeX
Once launched, you’ll have a full Kali Linux desktop running on your Windows system. You can now: ✅ Run penetration testing tools like Nmap, Metasploit, and Burp Suite.
✅ Use Linux commands without needing a separate Linux machine.
✅ Seamlessly copy-paste between Windows and Kali Linux.
Troubleshooting Common Issues
❌ Win-KeX not starting? Try restarting WSL:
wsl --shutdownThen restart Kali Linux.
❌ Graphical issues? Ensure WSL 2 and graphics support are enabled:
sudo apt install -y kali-win-kex xrdp❌ Sound not working? Win-KeX doesn’t support sound natively. Consider using PulseAudio for WSL.
Final Thoughts
Win-KeX is a game-changer for penetration testers, bug bounty hunters, and cybersecurity professionals who want to use Kali Linux on Windows without a virtual machine. It’s fast, efficient, and seamlessly integrates with Windows tools.
💡 Are you using Win-KeX? Drop a comment and let me know your experience! 🚀
#CyberSecurity #EthicalHacking #WinKeX #KaliLinux #WSL2 #PenetrationTesting #BugBounty #HackingTools #InfoSec #OffensiveSecurity
Leave a Reply